close
Connect Arduino Yun to QNAP NAS via QIoT Suite Lite
Get started with Arduino Yun(Python)
In this section, you will learn the basics of working with Arduino Yun (that runs Linux). You will then learn how to seamlessly connect your devices to QNAP NAS using QIoT Suite Lite. This example is uses the DHT11 humidity and temperature sensor.

1. Configure your devices
1.1 Download Arduino IDE
Download and install the Arduino IDE based on your host PC:
[https://www.arduino.cc/en/Main/Software](https://www.arduino.cc/en/Main/Software)
More Arduino tutorials can be found here:
[https://www.arduino.cc/en/Tutorial/HomePage](https://www.arduino.cc/en/Tutorial/HomePage)
1.2 Configure and test your devices
If this is your first time using Arduino Yun, you will have to follow some steps to assemble it.
- Connect Arduino Yun to your PC with USB.
- Open your Arduino IDE and find Blink example.
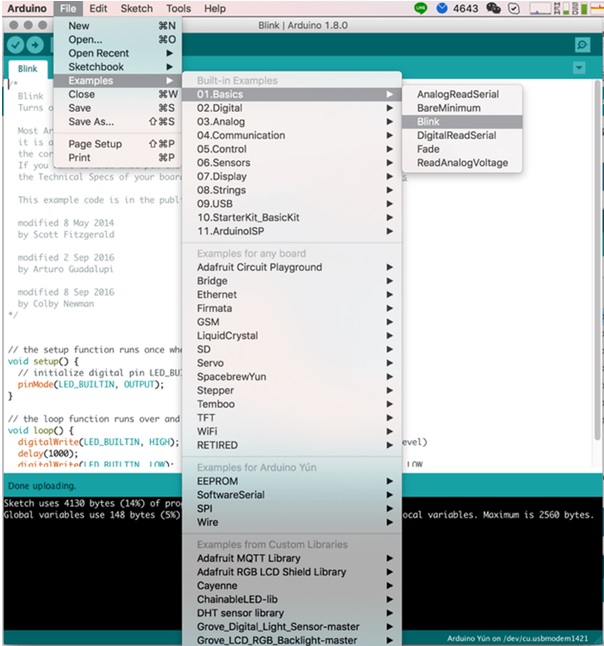
- Configure your board
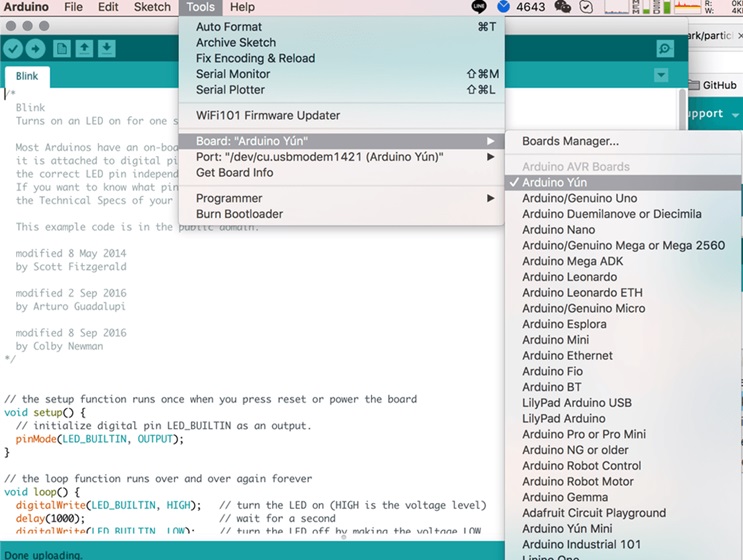
- Configure your port

- Verify and upload your Blink example to Arduino Yun
- After uploading your code to Arduino Yun, check your Arduino Yun and you should see L13 blinking
- lConnect your DHT11 sensor to "Ground", "5V", "Pin 2(Digital)" on Arduino Yun respectively.
1.3 Get the IP address of your Arduino Yun
- Press and hold the Wi-Fi reset button for 5 seconds.
- Go to your Wi-Fi settings and choose "Arduino-Yun-XXXXXXX" (where "XXXXXXX" is the MAC address of your Arduino Yun).
- Open your browser and go to "http://192.168.240.1" or "http://arduino.local". The default password is "arduino".
- Complete your Board setting and link your Arduino Yun to the router you are using. Skip "API setting"and click "Save".
- On your PC, change your Wi-Fi network to your router and now your NAS and Arduino will be on the same network.
1.4 Install development tools for your Arduino Yun
- Open a Terminal fromhttp://arduino.local
- Log in with the username "root" and your password. The default password is "arduino".
- Install PIP and MQTT Library by entering the following commands.
文章標籤
全站熱搜


 留言列表
留言列表
 {{ article.title }}