close
In this lesson, you configure your Raspberry Pi device with an operating system, set up your development environment, and deploy an application to Raspberry Pi.
There are three parts:
A What will you need
B Set up Raspbian
C Install Nodejs and required libraries
A What will you need
- Raspberry Pi
- SD card (an 8GB class 4 SD card is recommended) with NOOBS installed.
- HDMI display.
- USB keyboard and mouse.
- Power Supply: The Pi requires a USB micro power supply with at least 2A at 5V for the Model 3B, or 700mA at 5V for earlier models.
B Set up Raspbian
- Insert the SD card containing extracted NOOBS files into the Raspberry Pi
- Connect the keyboard, mouse, and HDMI display to the Raspberry Pi. Plug in the power adapter. The Raspberry Pi does not have a power switch, and will automatically power on once the adapter is connected.
- A menu will ask what OS to install and what language and keyboard layout to use. Check the box next to Raspbian and click "Install".
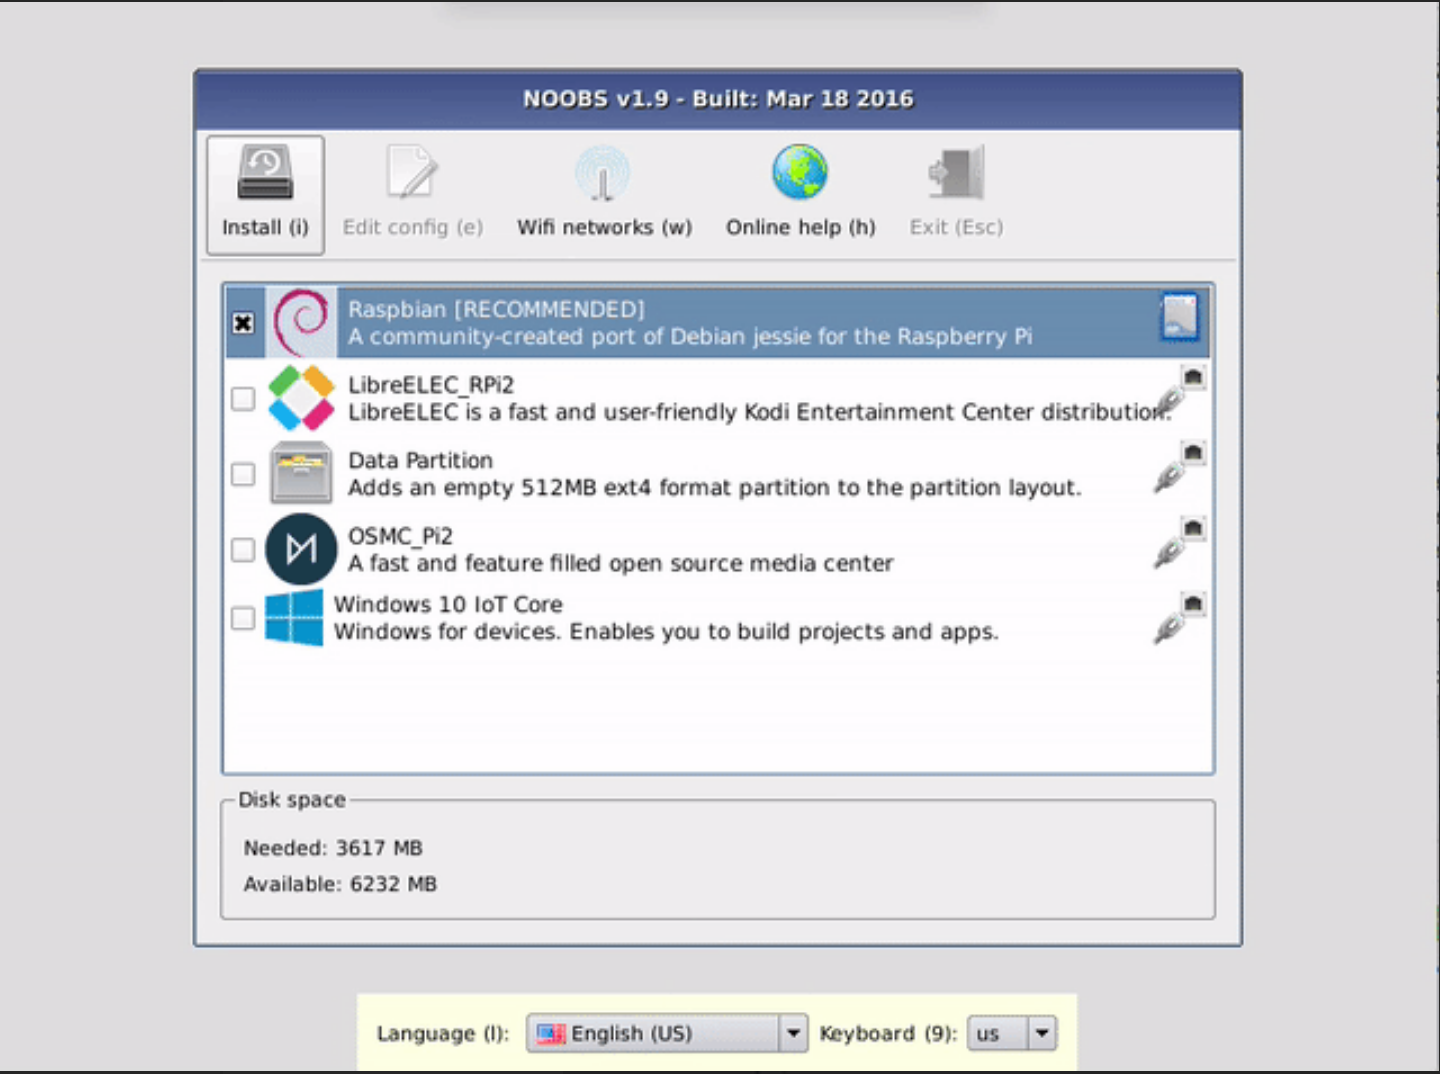
●The installation process may take up to 20 minutes, and will restart to the Raspbian desktop when complete.

●Configure Wi-Fi – In the Desktop environment locate the Wireless Network icon in the top-right menu and click the icon to view a list of available Wi-Fi networks.

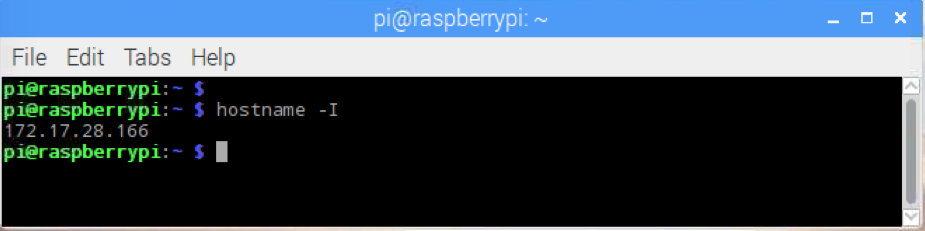
●To connect to your Raspberry Pi from another device, you must know the Pi’s IP address. Using the terminal (Ctrl + Alt + t to open Terminal), enter hostname -I.
● More Raspberry Pi setup guide|
C Install Nodejs and required libraries
- Install node.js v6
pi@raspberrypi:~ $ sudo apt update

pi@raspberrypi:~ $ curl -sL https://deb.nodesource.com/setup_6.x | sudo -E bash -

pi@raspberrypi:~ $ sudo apt install nodejs
- In next lesson will install QIoT Suite and connect to NAS by sample code.Lesson 2 Install QIoT Suite Lite.
Please visit QNAP github for QIoT Suite Lite sample code
"QNAP-Github"
全站熱搜


 留言列表
留言列表
 {{ article.title }}